You are currently browsing the tag archive for the ‘tutorials’ tag.
Tag Archive
How To Make a Washable Runner Stay Flat On A Slippery Floor
February 27, 2013 in Decorating | Tags: how to, kitchen, runner, tutorials | Leave a comment
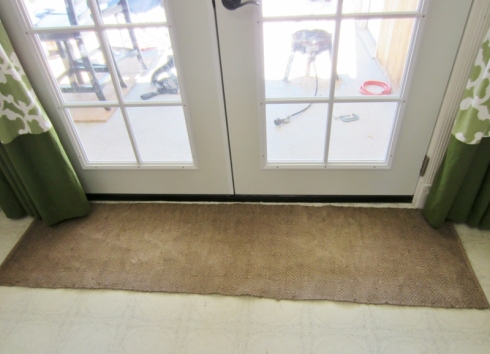
I found the greatest runner and matching throw rug at Target for the kitchen/dining room. They are mostly cotton with a bit of sisal as well, and they have a diamond pattern weave. I know my house and the boots that tromp through it from the backyard, so I’m thrilled that they’re already dirt colored! The runner goes in front of the french doors, and the 2×3 rug goes at the other end of the room in front of the kitchen sink. I love how this adds cohesion across the space. It took a while to find something that looked good, would hide dirt tracked in through the french doors, AND was machine washable. These three things do not often go together. I paid a bit more than I usually would ($35 for the runner, maybe $12 for the throw rug?) because they were Just Right, and sometimes that is worth loosening the frugal wallet for.
However, it ended up that I had a problem with the runner.
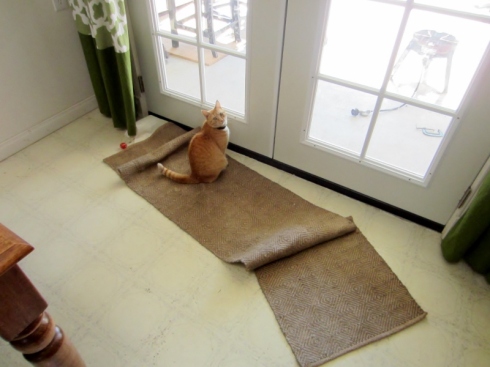
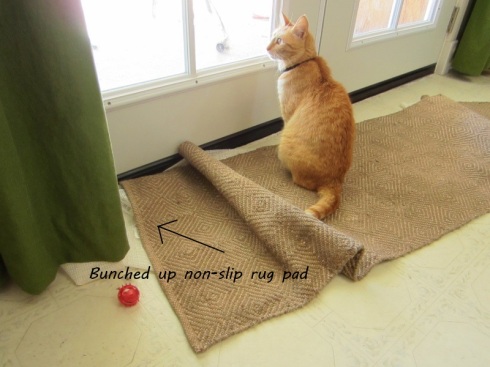
Actually it’s not Ana-Banana there who is the problem cat (that would be Ophelia) but she happened to be the kitty on the rug at the time I was taking pictures. Ophelia plays soccer all night long with that little red ball you can see in the upper left, and she leaves the runner like this or worse. Aargh! Perpetually straightening the runner is not my idea of fun.
I tried non-slip rug pads already, but that did not help very much.
So I needed some sort of solution that would cause the runner to lie flat, while still allowing it to be washed when needed. I googled my situation but the internet failed me for once. Instead I was forced to brainstorm. Rhino tape – basically permanent on both the rug and the floor, not an option. Thumbtacks won’t work with linoleum over cement. I considered sewing some sort of flat metal or stiff plastic strip along the long edges of the runner , maybe threading it through loops on the underside with little pockets for the ends to go into so that it would be removable for washing, but that just seemed too fussy and labor intensive.
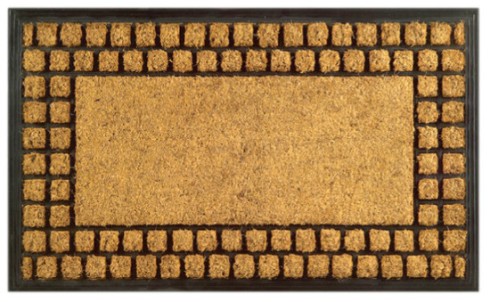
Finally I figured out a solution. I wanted this runner to lie flat and heavy like one of those indoor/outdoor mats with rubber backing, you know, these guys:
So I figured out that if I got rubber matting at Home Depot and velcroed the runner to the matting, I would have my heavy, flat runner that was still removable from the matting for washing! Genius!
They had rolls of various runner material that you could purchase in any length and I chose some medium-weight clear vinyl in a length a few inches shorter than the runner.
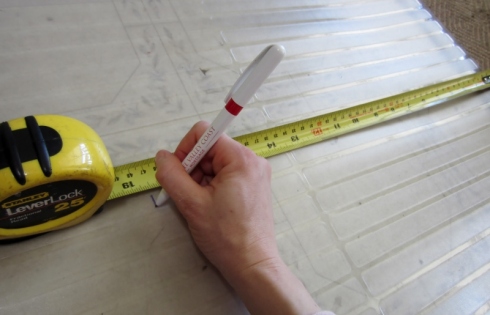
It was too wide (I didn’t want it to show underneath) so I marked my desired width at a few intervals down the length of the matting.
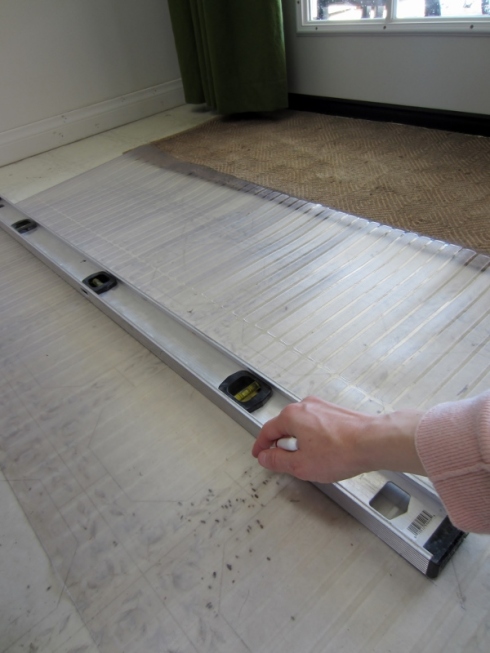
Then I grabbed the nearest straight edge and drew a line for cutting.
Kitchen scissors were sufficient to cut through the medium weight vinyl.
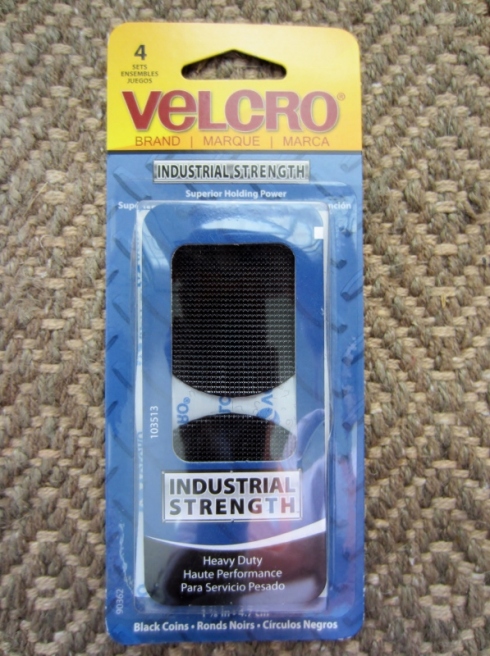
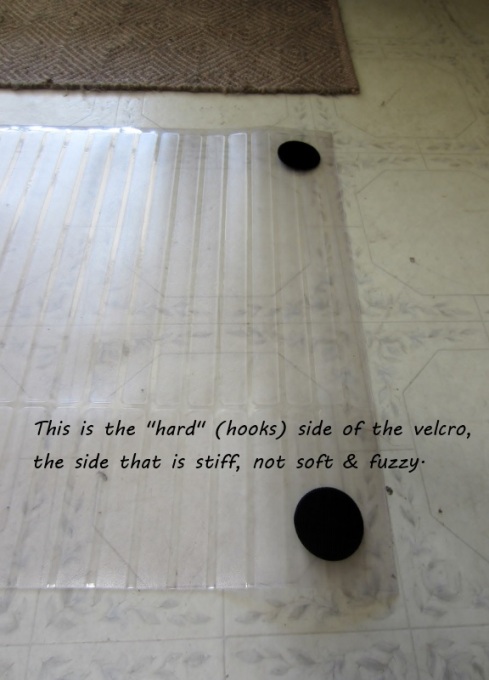
Next, I grabbed my velcro. I had some big velcro dots on hand with sticky adhesive backing, which turned out perfectly. There were 4 dot-sets per package, so I put one at each corner. I may come back with another package and add some in the middle if it seems like it needs it.
First I stuck the stiffer side of the velcro dot to the vinyl mat.
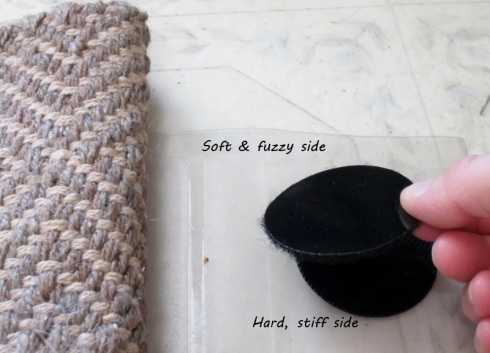
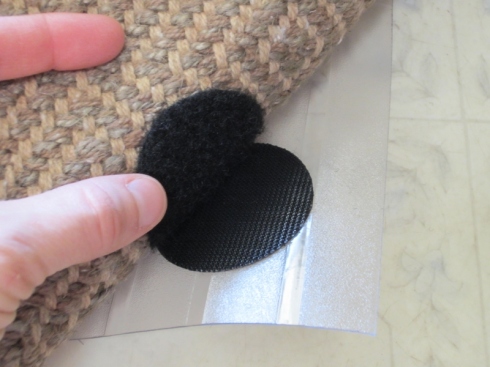
Then I placed the runner over the matting where I wanted it, making sure it was centered, and carefully folded back the ends of the runner to reveal the velcro on the matting. Next I actually velcroed the second velcro dot to the first one so that the adhesive was pointing to the ceiling and I had a double dot stuck to the matting. This way I didn’t have to worry about trying to line up the dots on two faces of material.
Lastly, I folded the runner back down over the matting and stood on the corners to get the adhesive from the soft & fuzzy velcro to stick well to the runner. The softer side of the velcro seems more washable so that’s why I put that one on the washable runner. I peeled it back to make sure it took, and voila!
Perfect, just like I wanted.
I may take some heavy-duty thread and sew that upper dot onto the runner in a couple spots just to make sure it holds fast over time and in the wash. But basically this has worked soooo well to keep the runner flat despite boots and cats and boots and cats messing with it. Plus, I can still wash it!
I am happy.
Hope this helps someone solve their problem with a runner on a slippery floor! PS. You may want to wash and dry your runner first before doing this, as you could get some shrinkage.

